Objective
The objective of the Configure Inventory – Vendor Items is to create and edit Vendor Items within QSROnline to ensure additions and changes are reflected on your invoices, count sheets, and reports.
To access the Vendor Items Tab:
- Click Menu > Food Cost > Food Cost Configuration > Configure Inventory
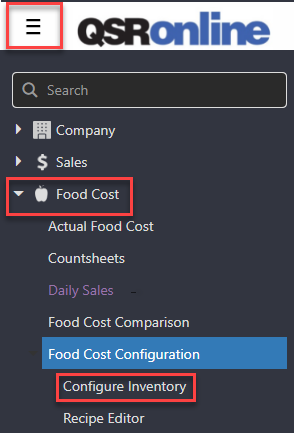
- Select the Vendors Items tab.

Features

- Vendor: The Vendor drop-down will list all Vendors created and available from your Vendors tab. Please see the Vendors Tab guide to manage your Vendors in QSROnline.
- Filter: The filter drop-down allows you to view your Vendor Items by “All”, “Ordered within 3 Months”, “Ordered within 6 Months”, or “Ordered within 1 Year”.
- Filter/Search: Underneath the column headers, each column has a filter text box. In these boxes, you can filter your vendor items by “Reference Number”, “Description”, “UOM”, “Pack/Size”, “Inventory Item ID”, “Inventory Item Description”, “Last Price/Purchased” and “Unit Purchased”.
- Sort: Clicking on a column header will give you the ability to sort the vendor items by the selected column.

- Add New Vendor Item: To add a new Vendor Item to your list, ensure a vendor has been chosen, and please select the “Add New Vendor Item” button at the bottom-left corner of the “Vendor Items Detail” window. This will allow you to add a vendor item to ensure all inventory is being accounted for.
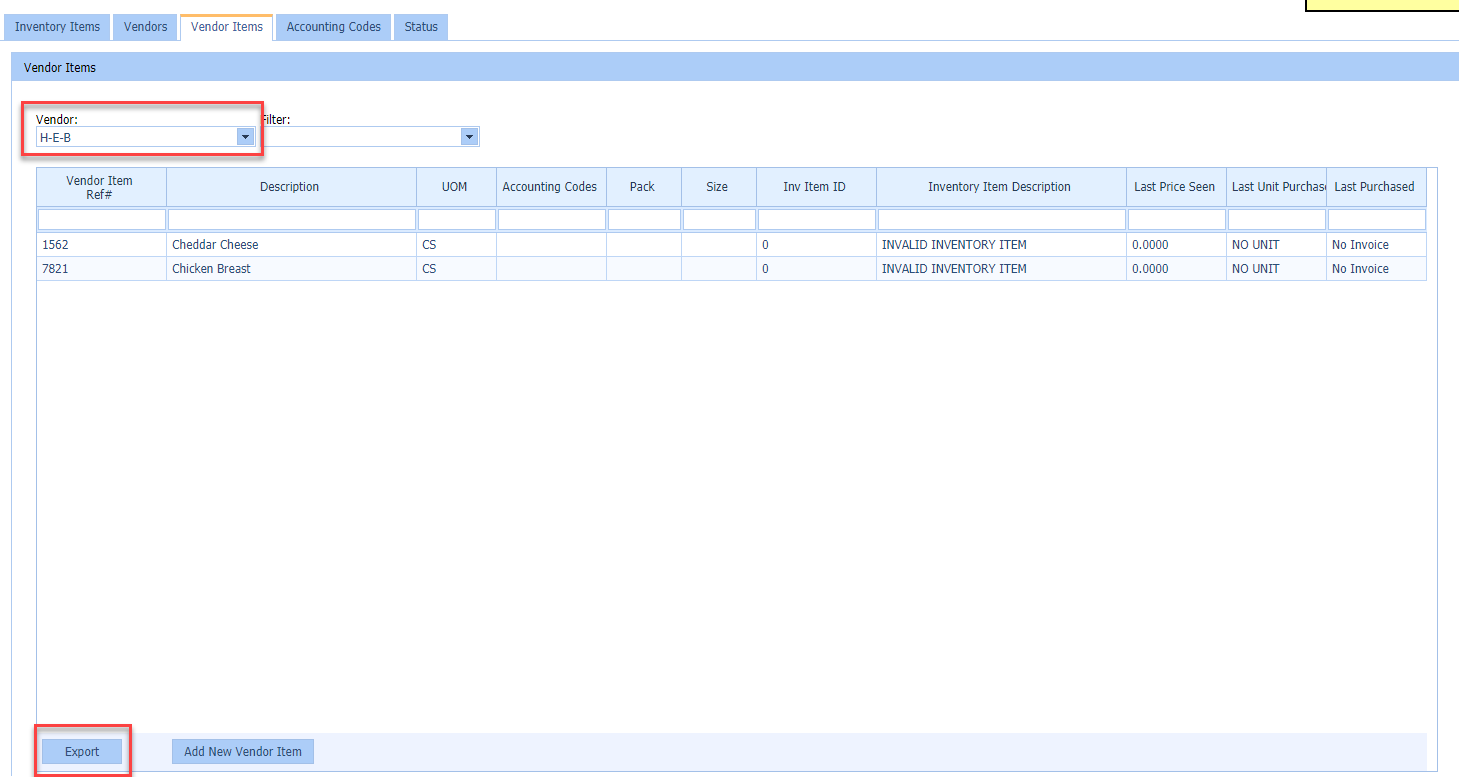
- Export: You can export the vendor items list as an XLSX spreadsheet by choosing a vendor and clicking the “Export” button at the bottom left-hand corner.
Adding a New Vendor Item
To create a new Vendor Item, please ensure a Vendor has been chosen from the drop-down and select the “Add New Vendor Item” button at the bottom-left hand corner of the page.
Click to Zoom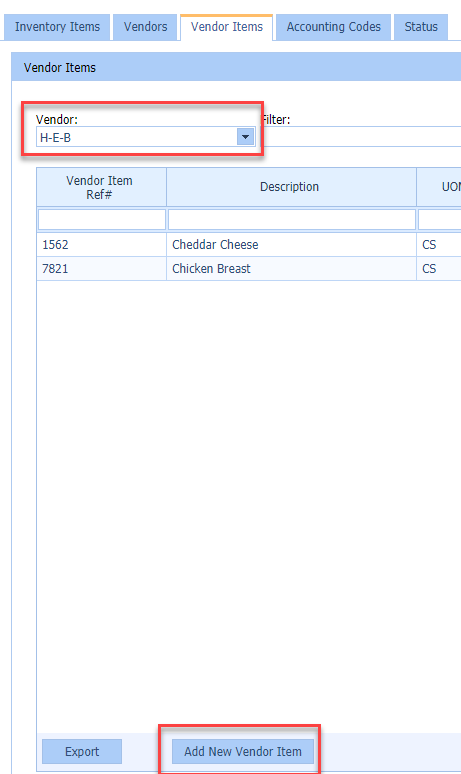
- The “New Vendor Item” window will appear and allow you to fill out the information needed to create the new item.
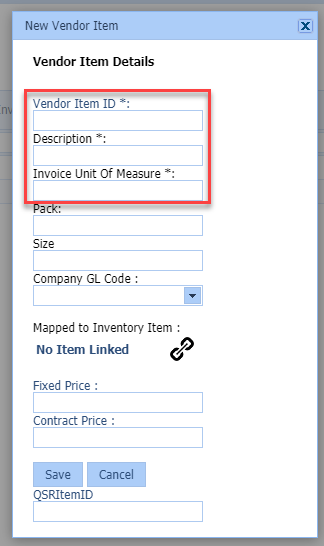
PLEASE NOTE: The “Vendor Item ID”, “Description”, and “Invoice Unit Of Measure” are required to save the new Vendor Item.
- Vendor Item ID: The “Vendor Item ID” holds the unique reference number assigned to each item by the vendor.
- Description: The “Description” field should contain the name or a short description of the vendor item.
- Pack/Size: If available, please provide the pack and size that the item is received as for more accurate reporting.
- Company GL Code: ** THIS IS ONLY REQUIRED IF YOU ARE SUBSCRIBED TO OUR ACCOUNTING SERVICES **. Here, you may link the GL code that the specific item is associated with. Please see our Accounting Codes guide for assistance with adding your GL Codes to QSROnline.
- Mapped to Inventory Item: To appropriately track the inventory being received, used, and purchased, you must associate the vendor item with an inventory item. Please see our Inventory Items Tab guide to manage the inventory items available in QSROnline for your company.
- Fixed/Contract Price: You can manually add the item’s fixed and/or contract price.
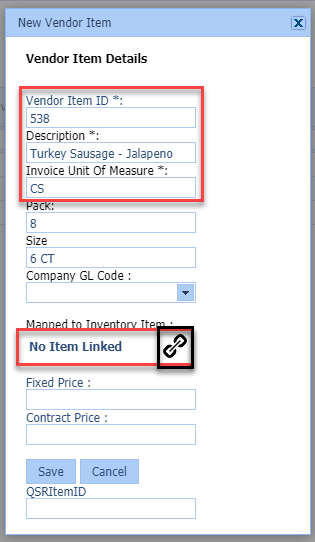
- To map a Vendor Item to an Inventory Item, please select the “Link” icon to the right of “No Item Linked”.
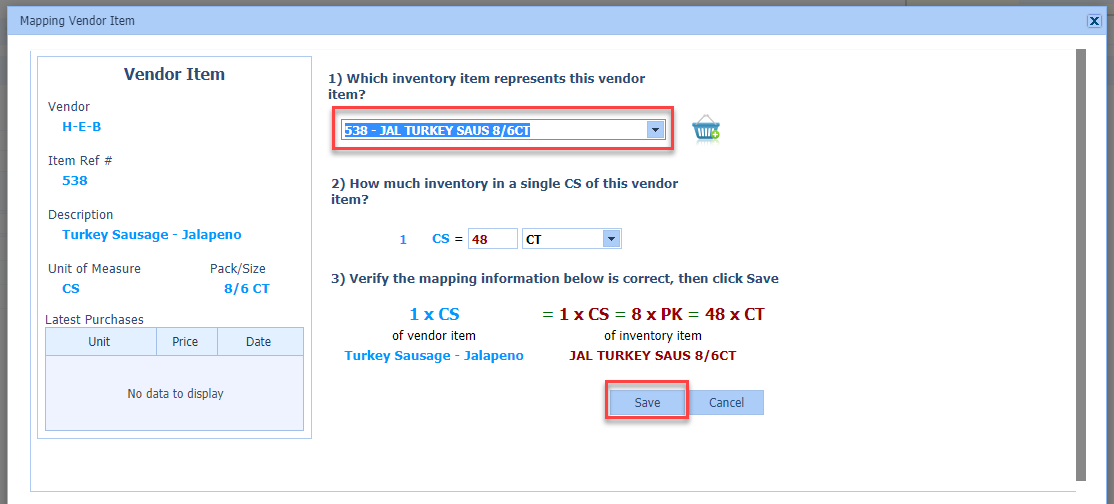
- A pop-up box will appear to map the vendor item to an inventory item created within QSROnline. PLEASE ENSURE THE MAPPING UNIT OF MEASURE IS CORRECT BEFORE SAVING.

- Once the New Vendor Item information has been entered, click the “Save” button. You will notice the Vendor Item populate in your Vendor Items list.
Editing a Vendor Item
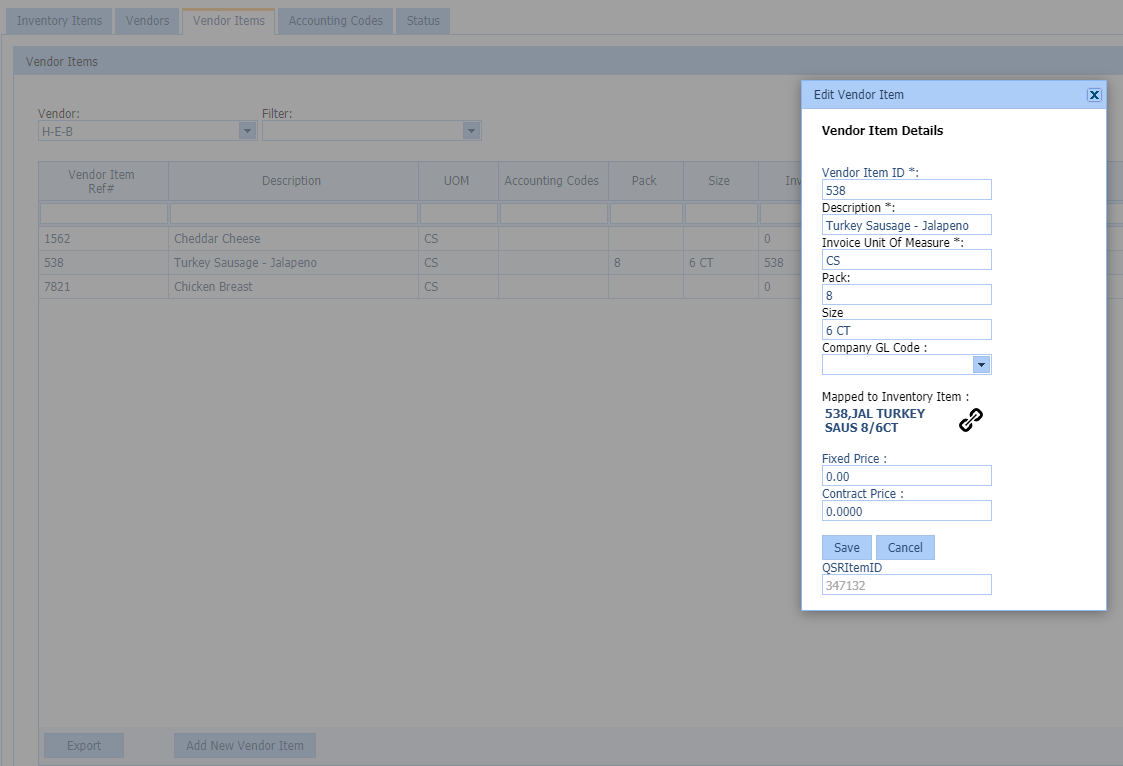
- To edit a Vendor Item, simply double-click on the Vendor Item in your list and an “Edit Vendor Item” pop-up box will appear. Adjust the details accordingly and select the “Save” button.