Objective
The objective of the Configure Inventory – Vendors Tab is to create and edit Vendors used to fulfill inventory orders.
To access the Vendors Tab:
- Click the Menu > Food Cost > Food Cost Configuration > Configure Inventory
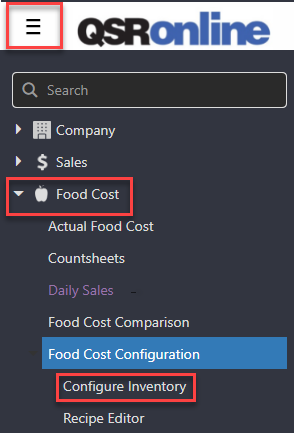
- Select the “Vendors” tab.
Features

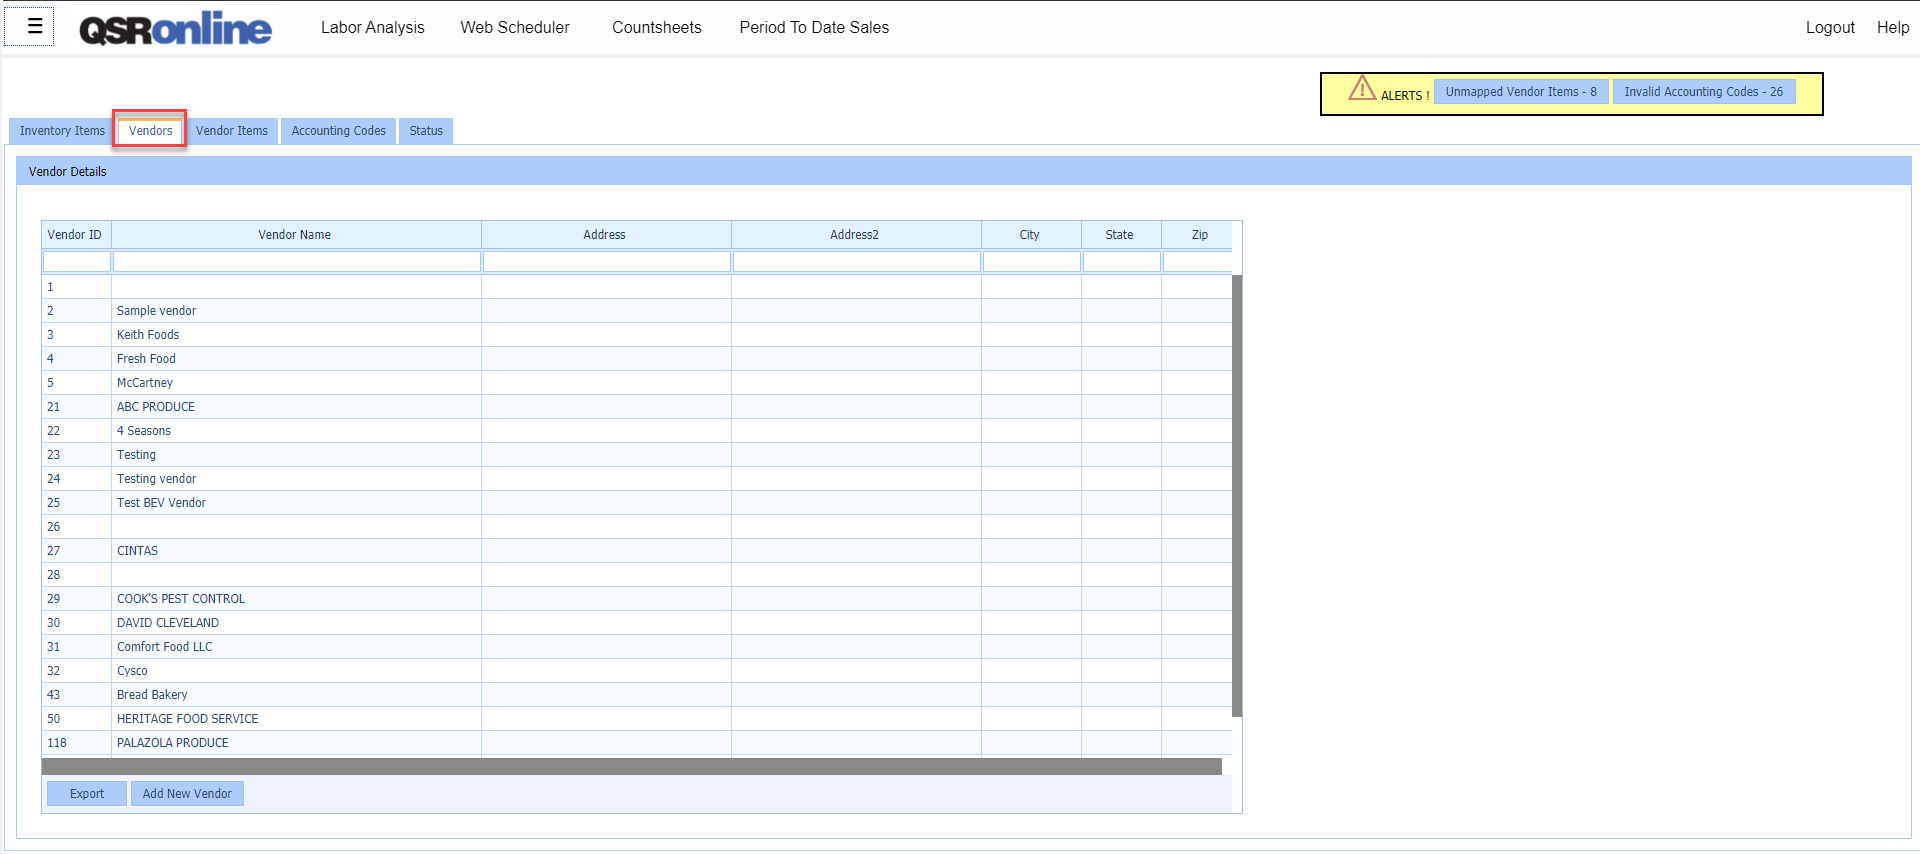
- Filter/Search: Underneath the column headers, each column has a filter text box. In these boxes, you can filter your vendors by “ID”, “Name”, “Physical Address”, “City”, “State”, or “Zip Code”.
- Sort: Clicking on a column header will give you the ability to sort the vendors by the selected column.
- Add New Vendor: To add a new Vendor to your list, please select the “Add New Vendor” button at the bottom-left corner of the “Vendor Detail” window. This will allow you to add a vendor to ensure all inventory is being accounted for.

- Export: You can export the vendor list as an XLSX spreadsheet by choosing Export at the bottom left-hand corner.
Adding a New Vendor
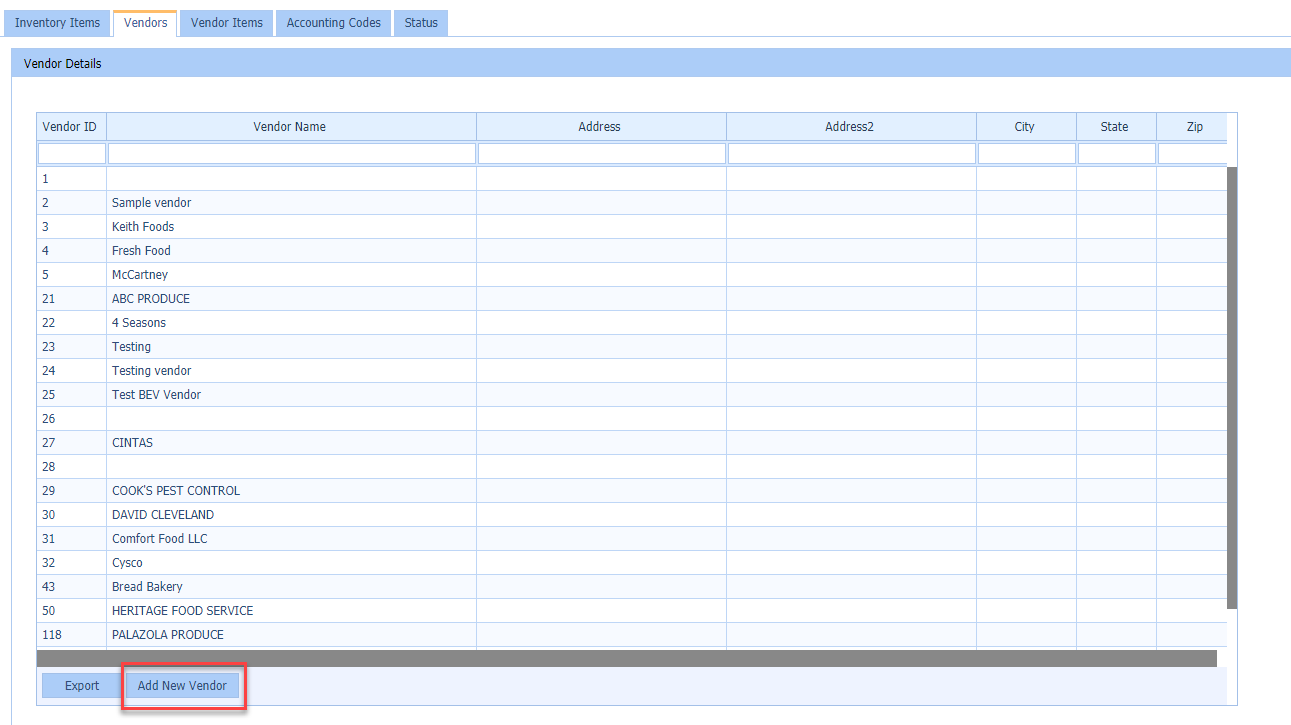
To create a new Vendor, select the “Add New Vendor” button at the bottom-left hand corner of the page.
Click to Zoom
- The “New Vendor” box will appear and allow you to fill out the information needed to create the new item.
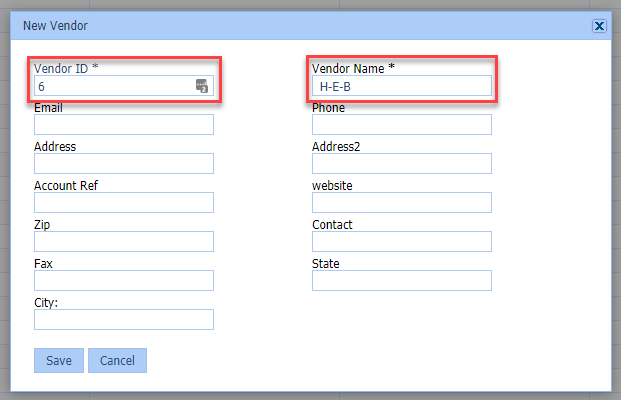
- Vendor ID: The “Vendor ID” must be specific to the Vendor but can be generated randomly for manual entry Vendors. If the Vendor selected is an EDI Vendor, the Vendor ID will need to be set up by QSROnline. The EDI Vendor ID is specific to ensure the EDI process completes successfully.
- Vendor Name: The “Vendor Name” is how you would like the Vendor to be displayed on invoices and reports.
- Address/City/State/Zip: These fields are information about the Vendor.
* The Vendor’s Physical Address details are NOT required for invoice entry.

- Once the New Vendor information has been entered, click the “Save” button. You will notice the Vendor populate in your Vendors list.
Editing a Vendor
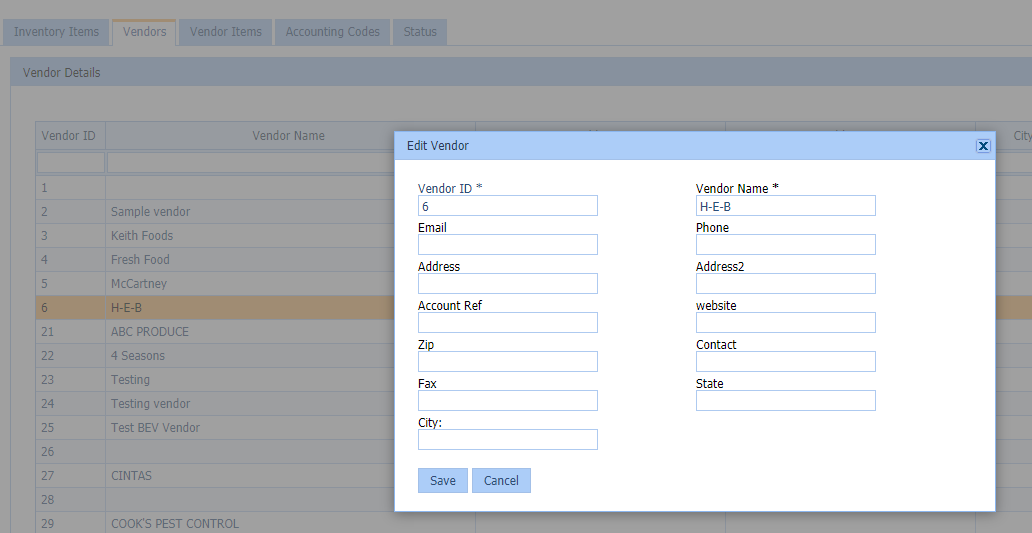
- To edit a Vendor, simply double-click the Vendor and an “Edit Vendor” pop-up box will appear. Adjust the details accordingly and select the “Save” button.