The Role Editor allows administrators to control user access by setting role permissions. Each role can be customized to allow access to any QSROnline tool/setting. There is no limit to the number of roles to ensure every user has the correct access.
How to Access the Role Editor

To access the Role Editor, go to Menu, Company, then click Role Editor. By default, the Roles Mode view is selected.
Features
Roles Mode View
By default, the Role Editor will start in Roles Mode View. This is the most common use of the Role Editor and allows creation and editing of roles.
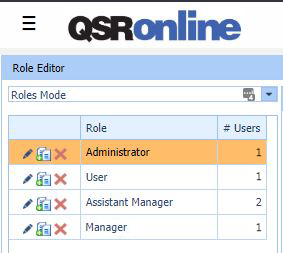
List of Roles
The top left portion of the Role Editor displays existing roles. By default, an “Administrator” and “User” roles are created. An “Administrator” will have all settings checked as they have access to all features. A “User” has access to basic settings, but can be edited and renamed.
Editing Roles
- To edit the name of a current role, click the pencil icon on the desired row.
- The double paper/plus icon allows any role to be duplicated.
- The red “X” icon will delete a role. Any users assigned to a role must be reassigned before a role can be deleted. The Administrator role is the only required role and therefore cannot be deleted or edited. There must be at least one user assigned to the Administrator role at all times.
Add a Role
- To create a new role, click the “Add Role” button in the lower left of the screen.
- In the role list, a text box will open.
- Type in the name the of the new role.
- Once the name is entered, click the green check mark icon to save.
- To cancel, click the red stop circle.
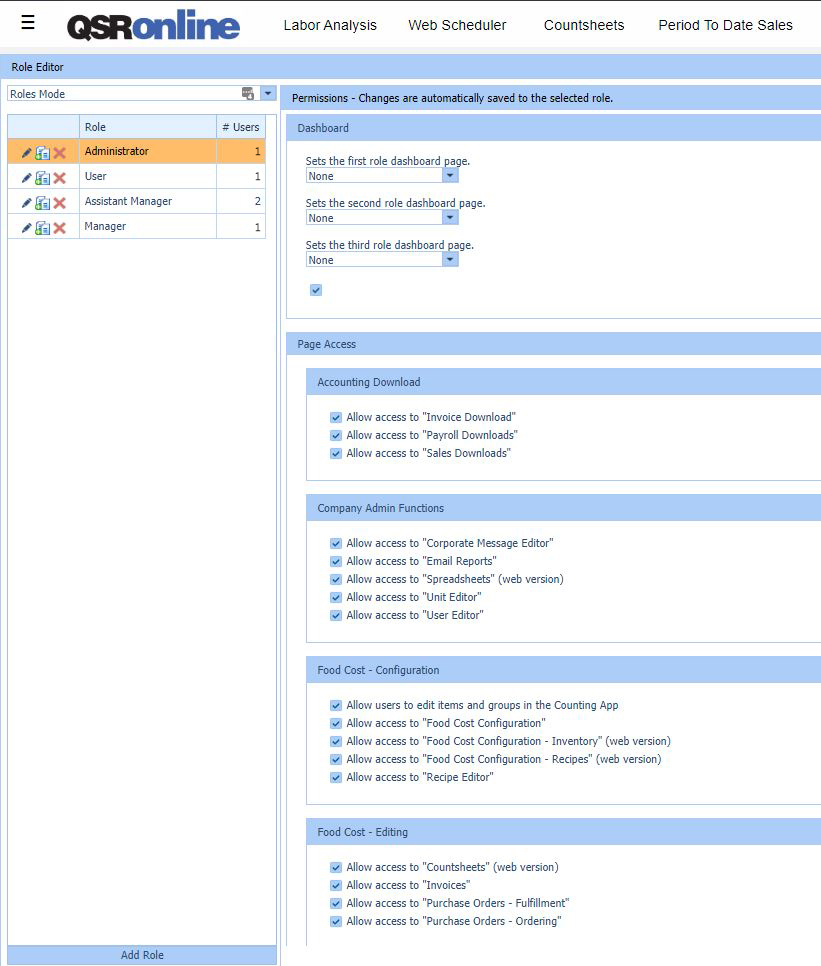
Changing Permissions
- Select the “Role” to be updated by clicking on the role in the list on the left-hand side.
- Check/uncheck the permissions as desired.
- Permission changes are automatically saved to the selected role by checking/unchecking the setting.
Settings Mode

“Settings Mode” allows an administrator to update the settings for a select permission for multiple roles. This screen can be accessed by clicking on the drop-down at the top left where it shows “Roles Mode” and selecting “Settings Mode”.
Category: Dashboard – provide roles access to the Reporting Dashboard and/or whether it should be the first tab on the home page (which would make the Reporting Dashboard load at the time of log in).
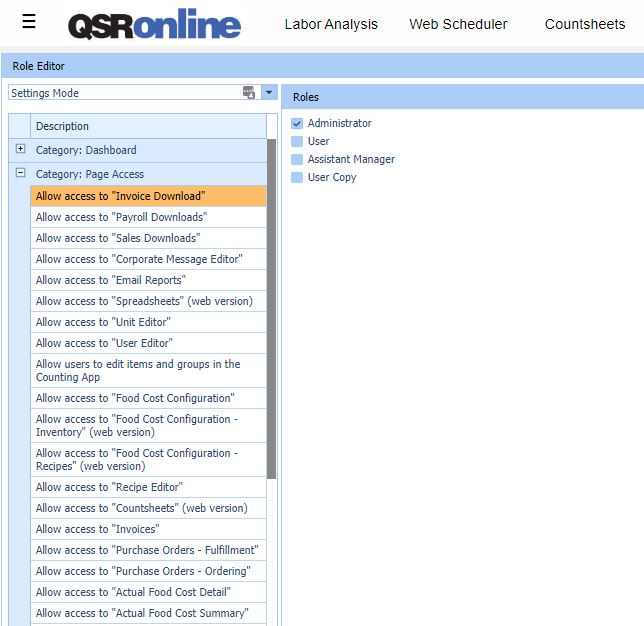
Category: Page Access – Here, you can select a report from the left pane. The right-hand pane will list each role and a check mark to note if permission has been granted to the role.

Category: Quick Link Buttons – There are 4 quick link buttons at the top of the page. By default, administrators will have Count Sheets, Food Cost Configuration for Inventory and Purchases, and Invoices. The quick links can be updated by role to give access to specific reports with a simple click. Select a quick link button option, then set the roles that should have that shortcut.
Troubleshooting